Why do we damp sand?
Using a smaller 3-inch sander hand for smaller piece of dirt is more efficient than using a 5-inch round dry sander. Another reason why we damp sand is because dry sanding creates a lot of dust that spreads over the top of the vehicle and can fall down into the crevices of the vehicle. An advantage to damp sanding is that you are not creating any dry sand dust and everything that you sand stays contained within the area you are focused on.
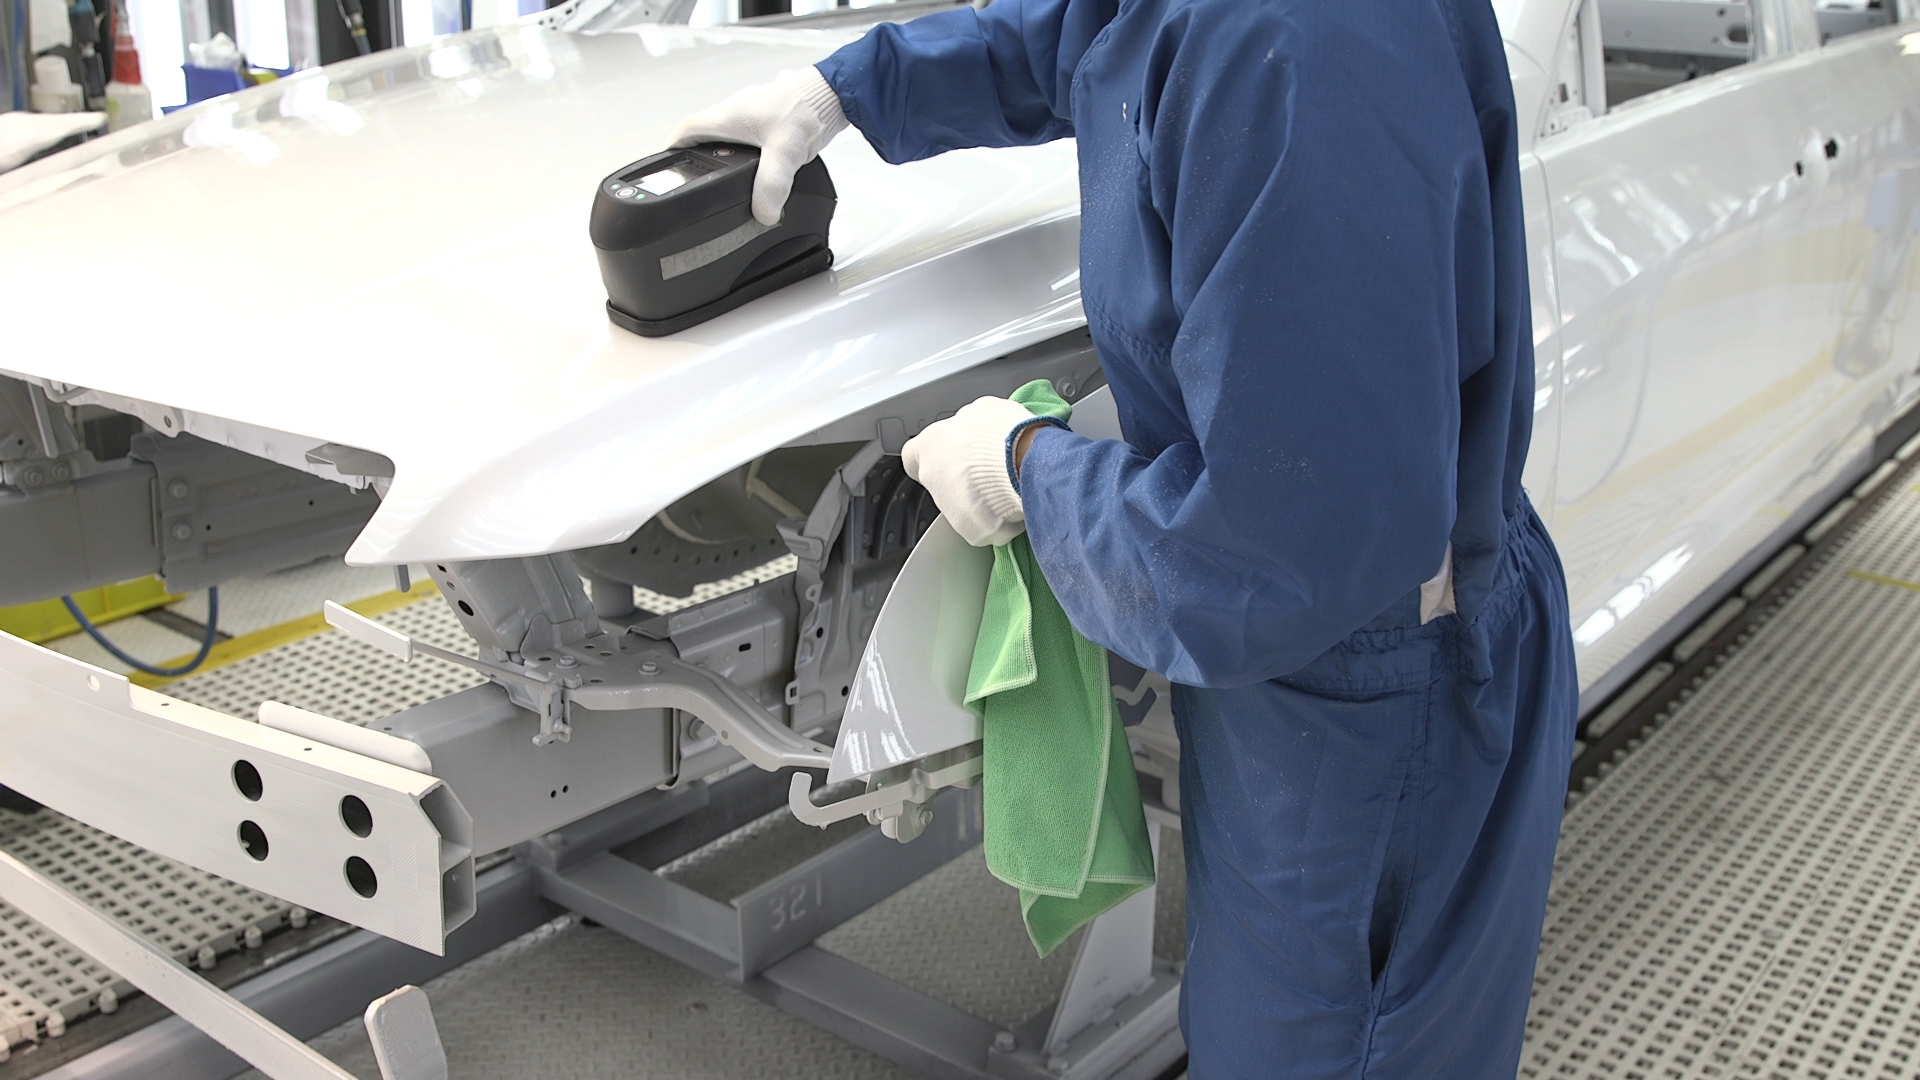
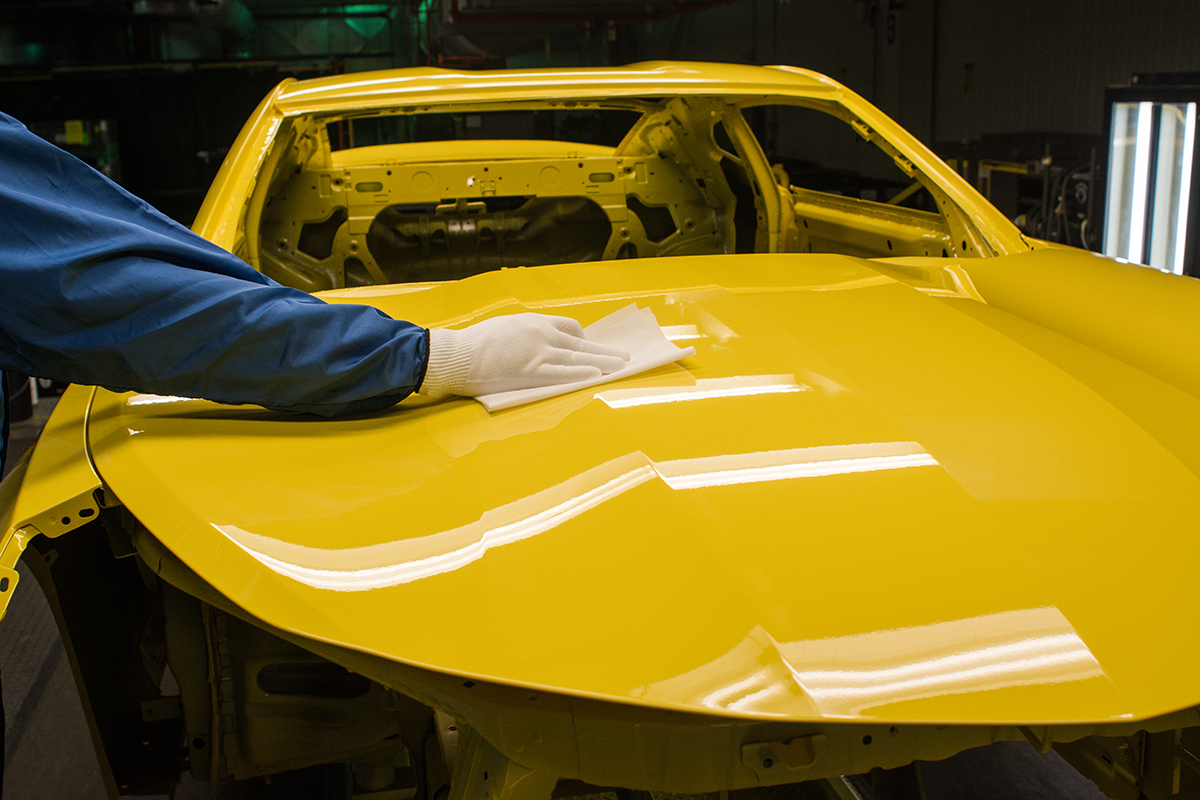
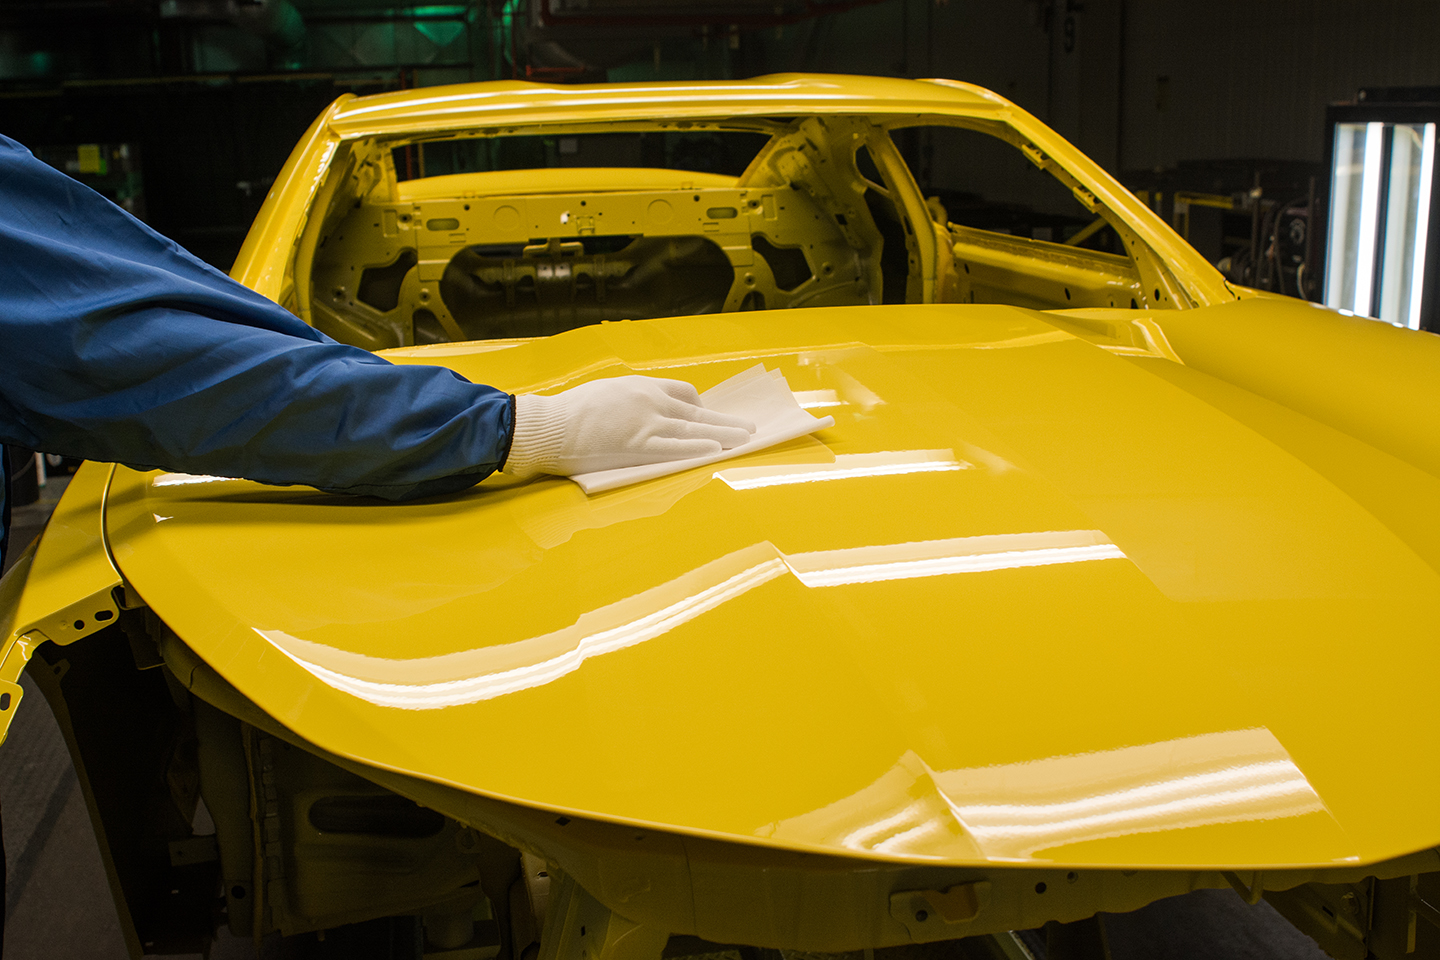
After sanding, you can use a microfiber wipe to clean up any damp sanding residue. It is important to remember to always start with a clean wiper.
What does a proper damp sanding station look like?
A proper damp sanding station should include the following:
- Fresh water
- Deionized water
- Fresh sponge
- At least 10-20 microfiber wipes and/or SuperBuff™ or Microsilk™
The sponge has a dual purpose – it not only dampens the sandpaper, it cleans the sandpaper as well. In between shifts, always remember to rinse your damp sanding tray and put fresh deionized water in it.
Here are some tips for damp sanding:
- To prevent splatter when using a sander, place your cloth between 12 and 3.
- Do not allow the hose to touch the vehicle.
- Finish by wiping off the vehicle.
If you do switch over to dry sanding, make sure to switch over to a tack cloth.
The best way to use a microfiber is to quarter fold it so you get eight clean sides of use before needing a fresh one. Also, make sure to change your gloves throughout the shift as they eventually become contamination source.
Damp sanding is a very critical operation in the paint shop. Following these best practices will increase your FTCs.


